Setting up
Requirements
- Unity 2022.3 LTS or later (Unity 6 recommended).
- Universal Render Pipeline (URP) 14.0 or later.
- Linear Color Space (scenes will look different in Gamma Color Space).
Note: Line Kit uses the RenderGraph API on Unity 6+. On Unity 2022.3 the project opens and compiles cleanly, but the render passes are inactive — full functionality requires Unity 6.
Setting Up Line Kit
After importing the package you’ll need to load the Line Kit Renderer Feature on the scene’s Renderer.
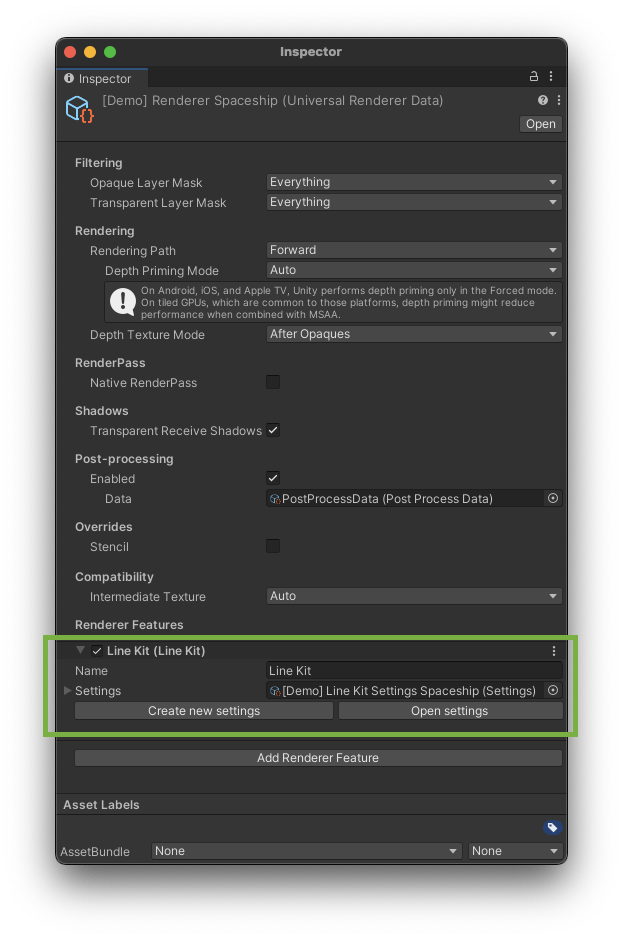
Line Kit Loaded on the Scene’s Renderer
- Select the Renderer GameObject in the Hierarchy panel. In the Line Kit sample scenes we’re using a useful custom-made Auto Load Pipeline Asset script, which you can load as a Component on the Camera. It allows you to have a separate URP Asset file and its Renderer on each scene.
- Go to the Inspector panel
- Press the Add Renderer Feature button.
- Select Line Kit from the list.
- Then you’ll need to create the Settings file for it. Press the Create Settings button on the Line Kit Renderer Feature. The file will be automatically loaded in the Settings field.

Loading Line Kit Renderer Feature and creating Line Kit Settings file
You can also create the Settings file manually by right-clicking in the Project panel and selecting Create > Line Kit > Settings.
Ready For Line Mapping
At this moment you’re ready to use the basic features of Line Kit like Depth and Normals passes — those that don’t require textures for generating the outlines. Using the internal textures gives a more profound control over the lines rendering.
Please refer to the Line Map section for the detailed instructions.